How to Install a Starlink Mini on a Cybertruck Using 48V Power Feeds
By powering the Starlink Mini directly from the Cybertruck’s 48V feed and mounting it neatly on a back crossbar or accessory mounting point, you can maintain constant internet access whether you’re driving, camping, or charging, without any major visible wiring.
For my setup, I've used the mounting hardware from Mars Adventure Gear, links to all below.

Mars Adventure Gear's Starlink Mount without Crossbar
Parts and Resources
For convenience, here are the main components I used in this setup:
(Some links may include referrals or generate creator revenue with use)
Powering from the Cybertruck’s 48V Feed
The most important part of this setup is tapping into the Cybertruck’s native 48V system. Unlike the bed outlets, which shut off while the truck is plugged in for AC charging, the 48V feed remains active at all times. That means your Starlink stays powered 24/7, even if you’re charging at home or connected to shore power at a campsite.
To make the connection, I started with a standard 12V cable — this one works perfectly — and modified it for the 48V line. I cut off the cigarette lighter connector end and spliced the cable into the Cybertruck’s 48V feed (using quick-disconnects and heat shrink). This allows the Starlink Mini to run directly on the Cybertruck’s mid-voltage system, removing the need for converters or adapters and keeping the setup clean and efficient.
There are no other adapters, converters, or wires needed. Starlink Mini can be powered directly from 48V!
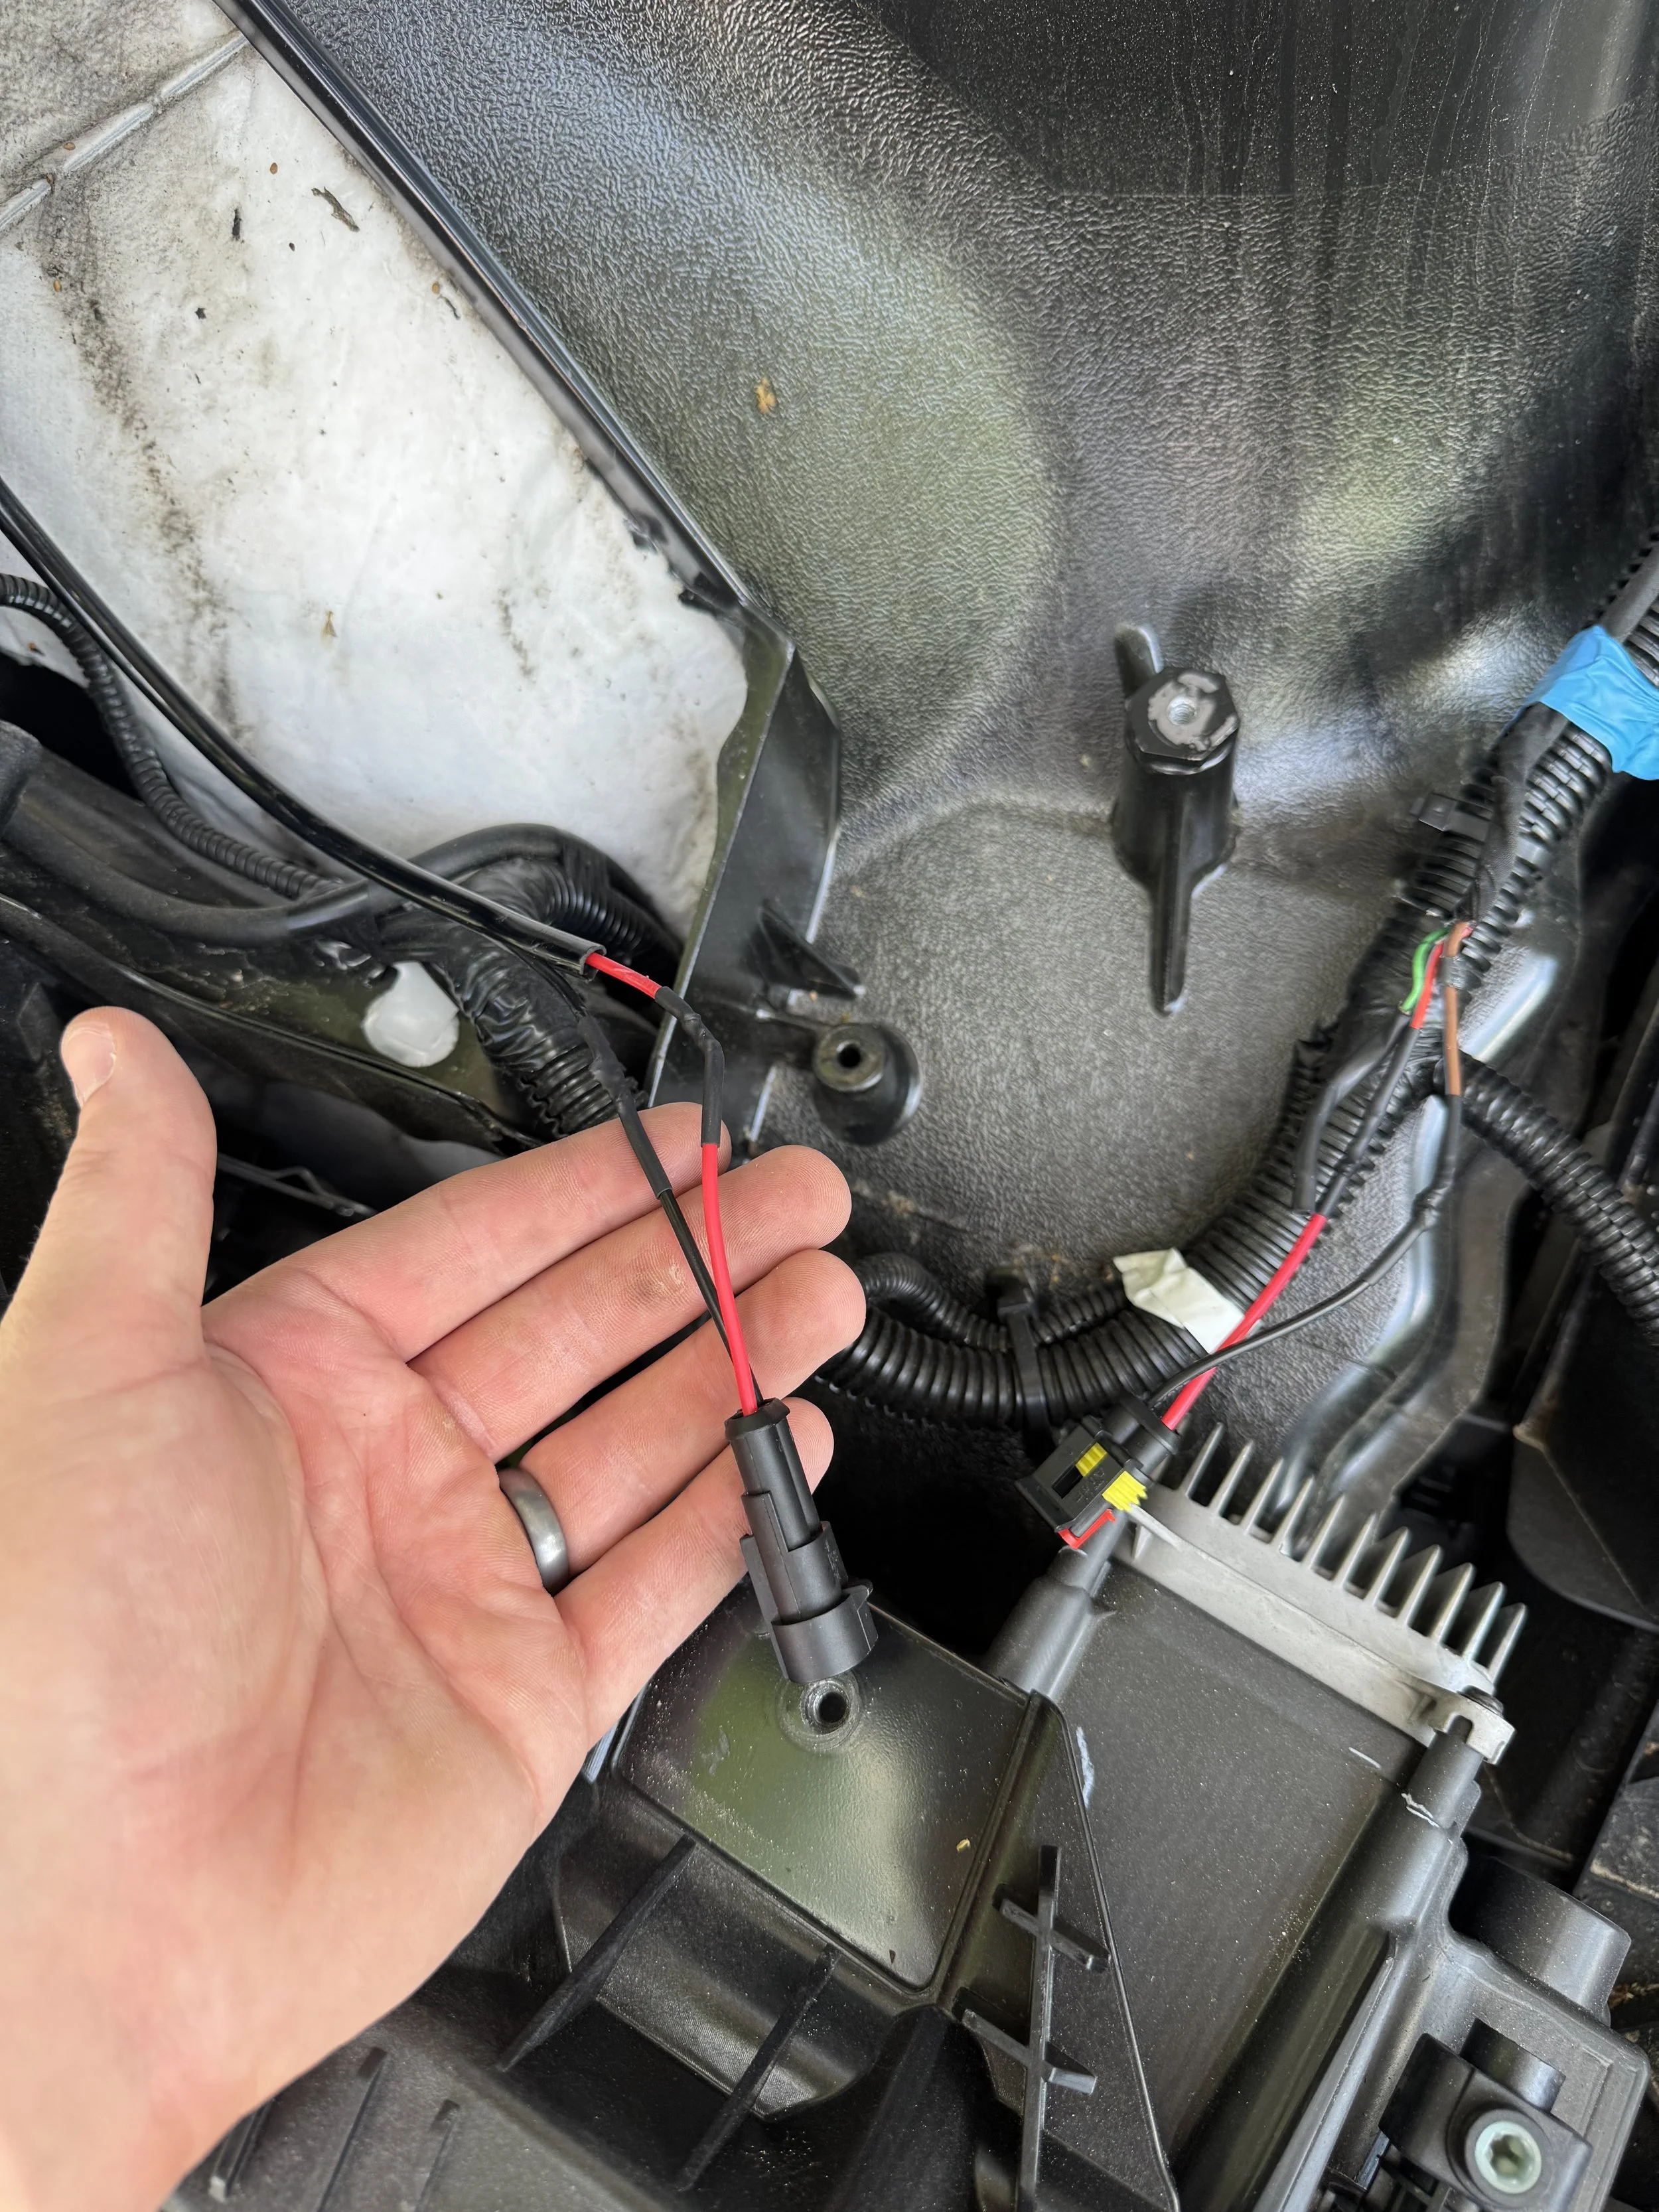
Quick Disconnects on the Frunk Power Feed
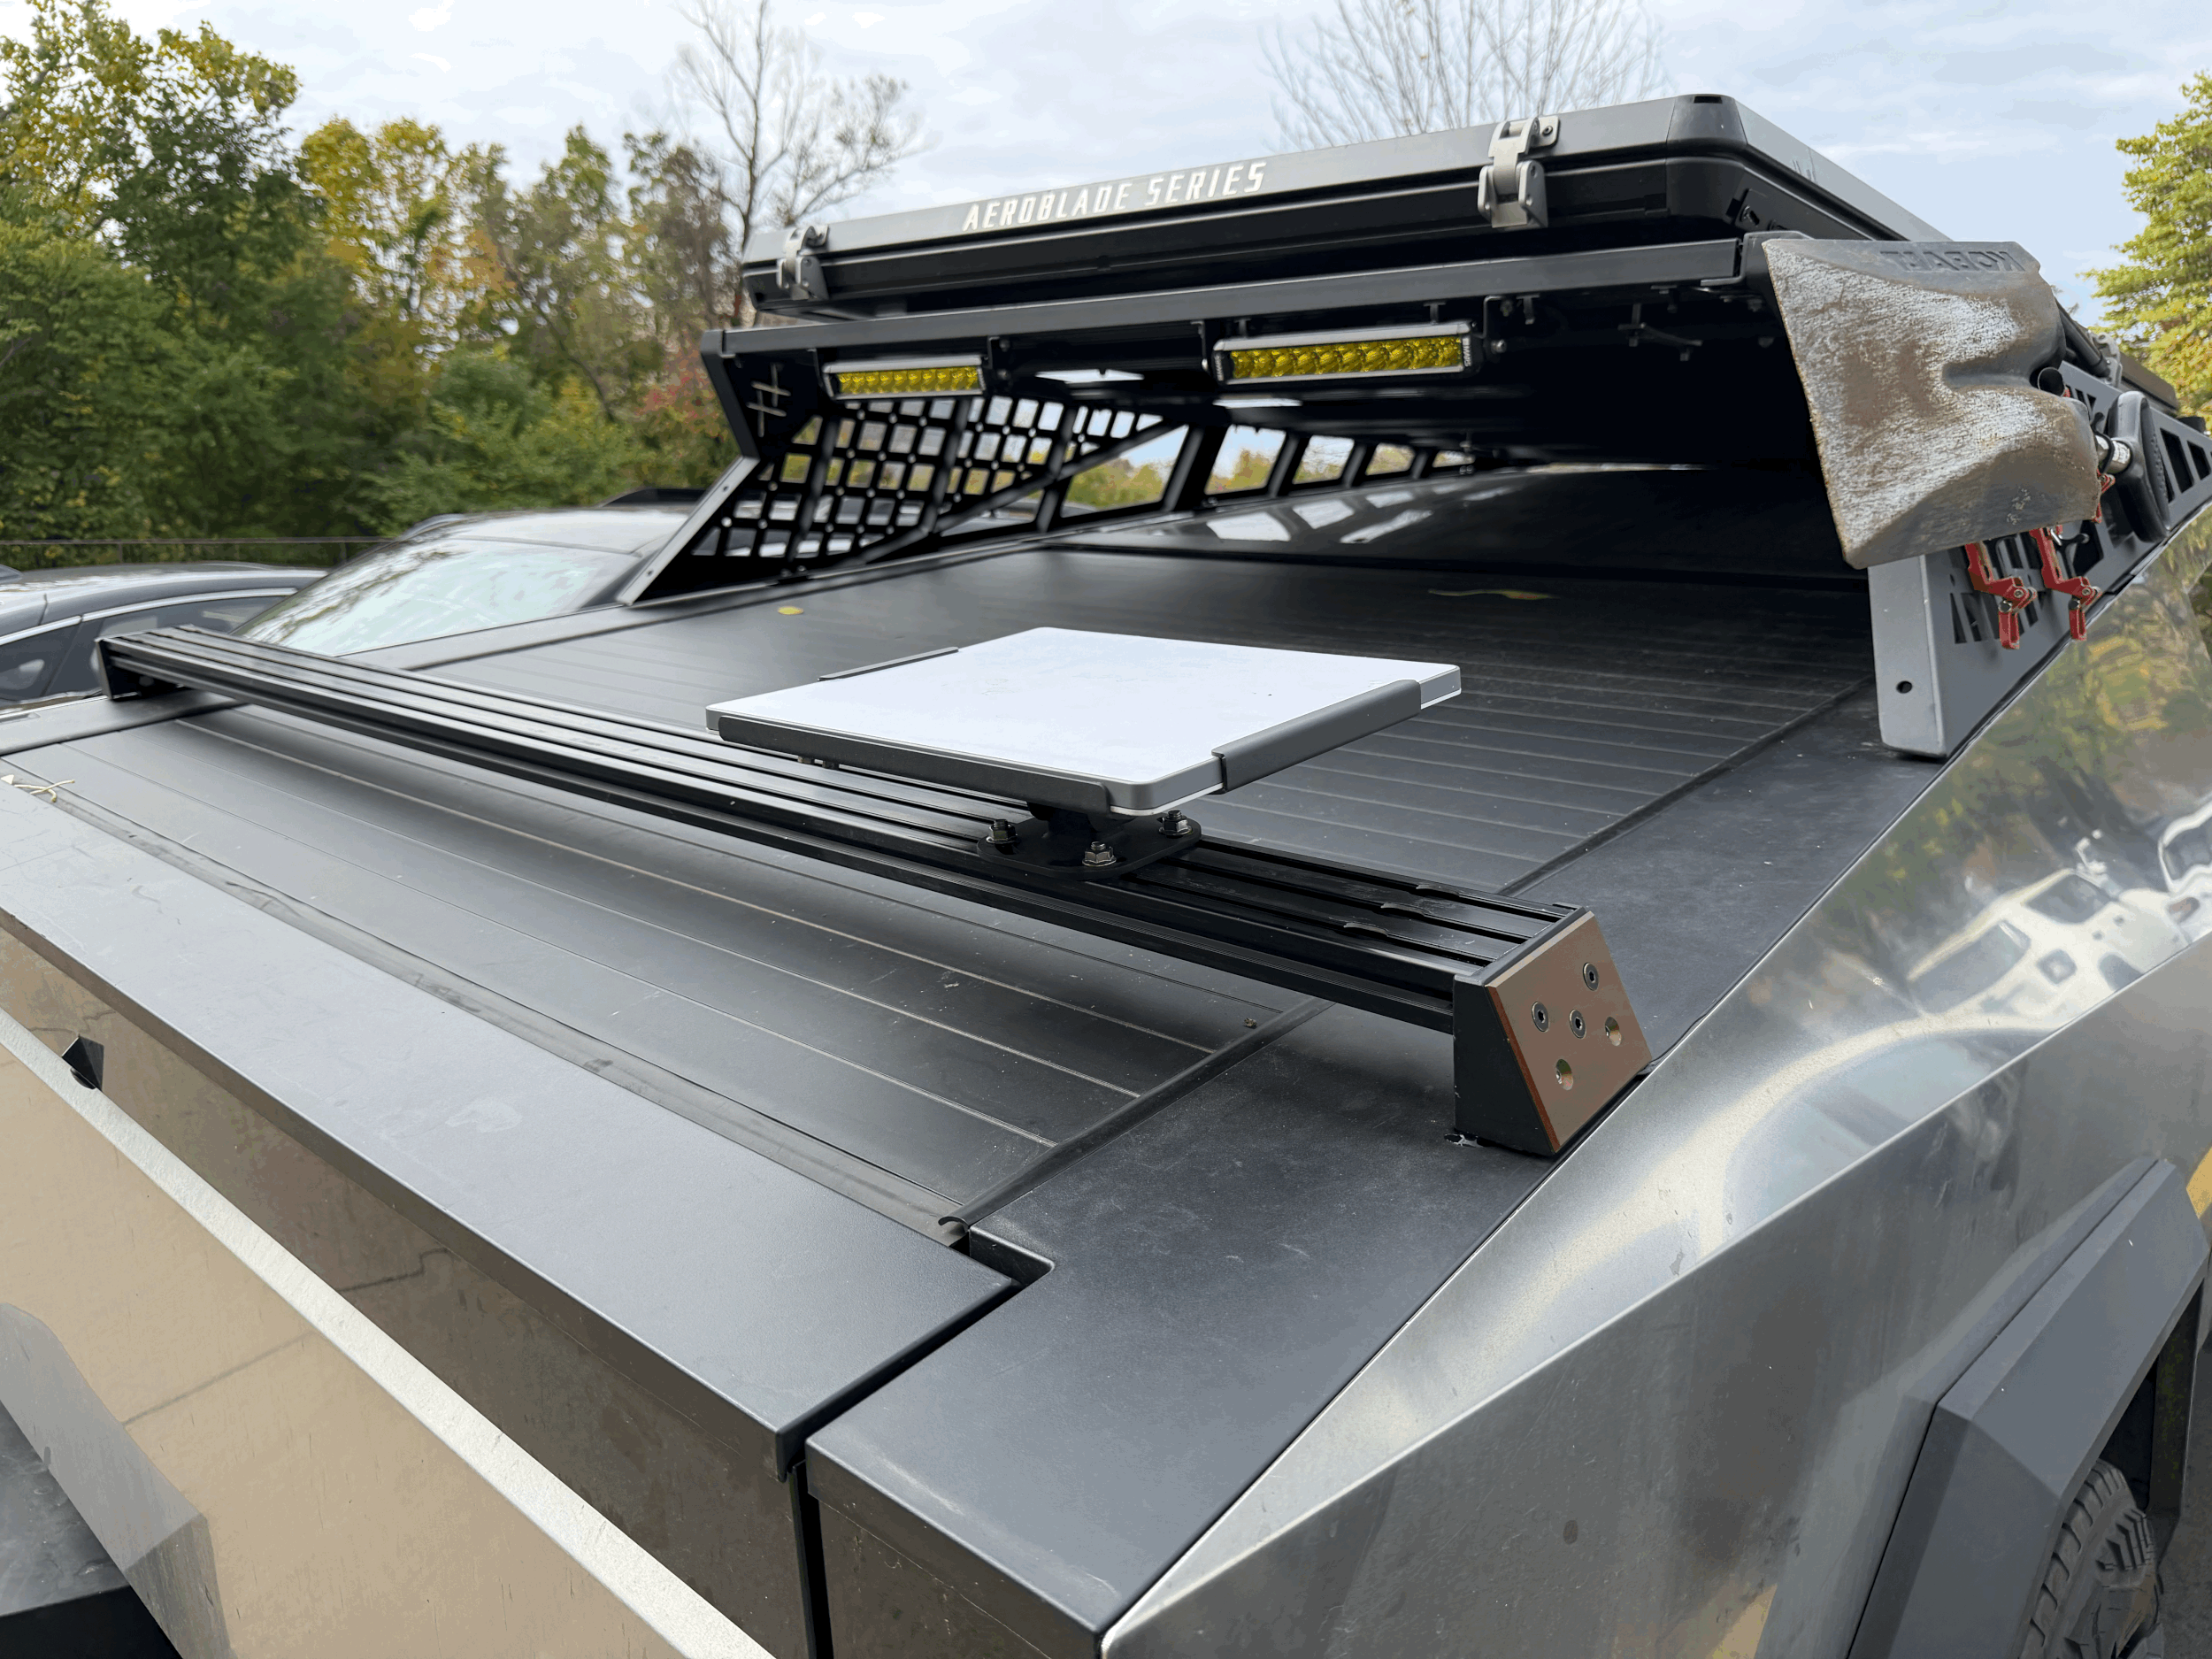
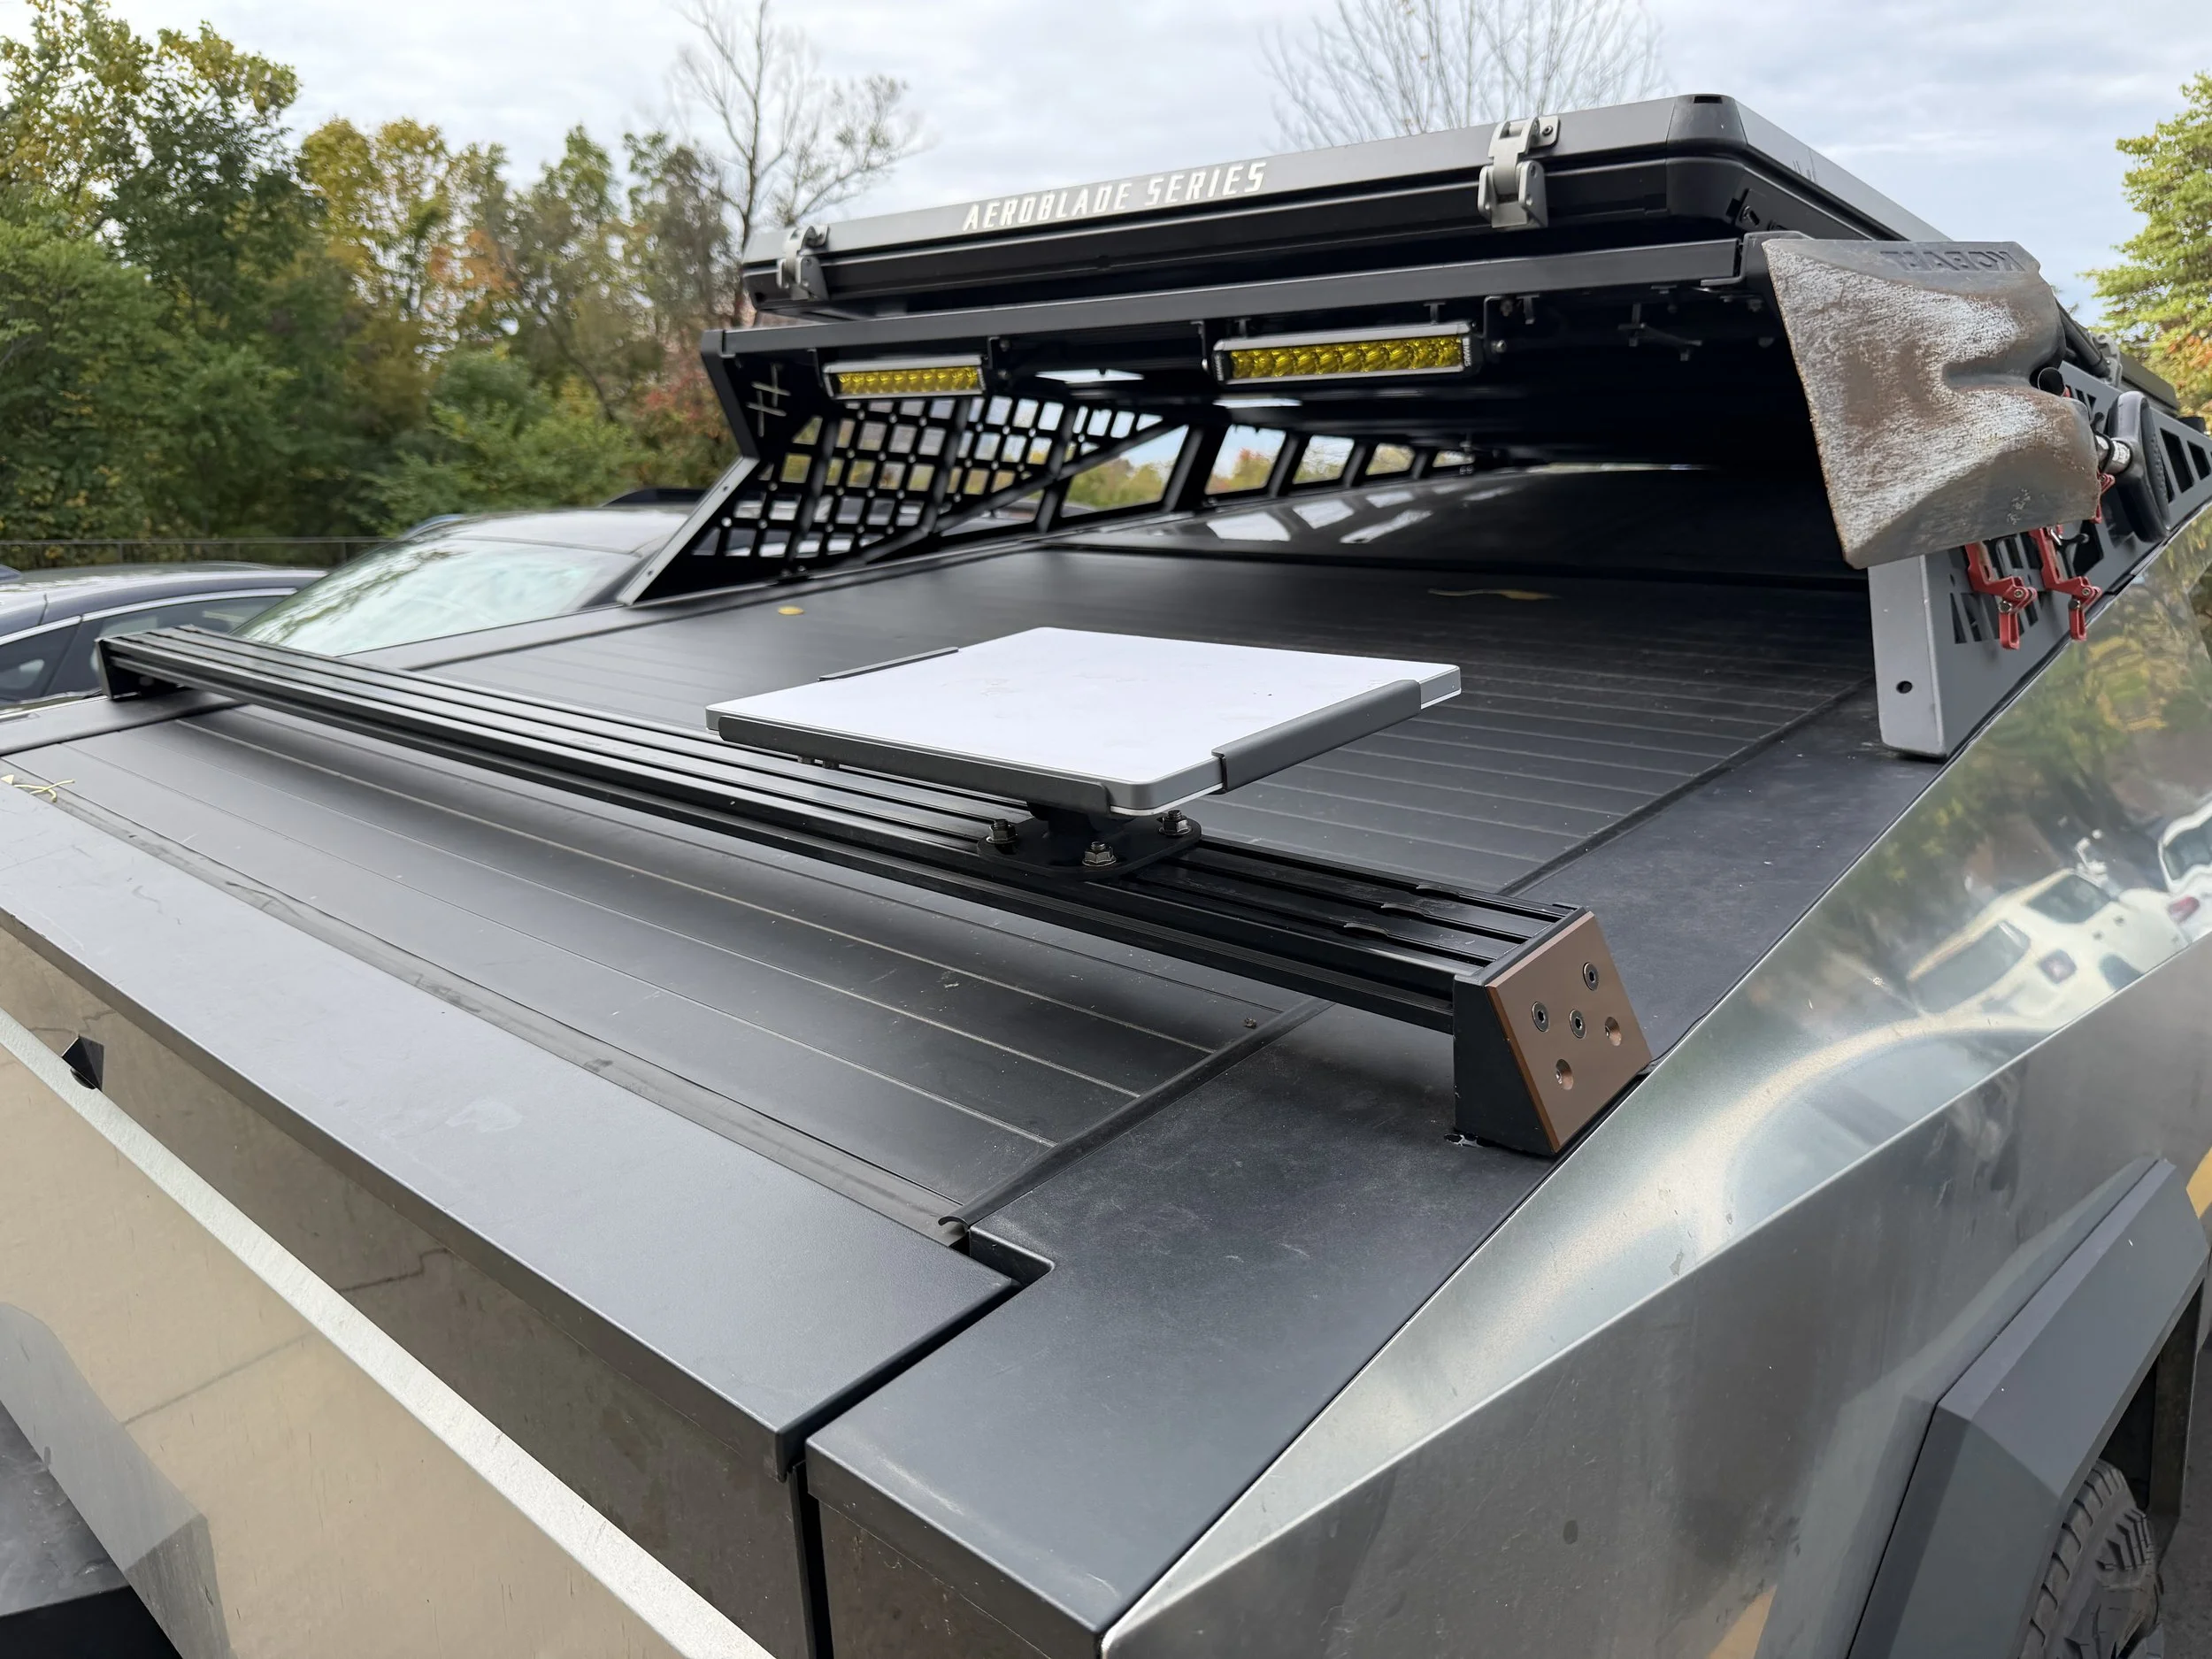
The Mounting Setup
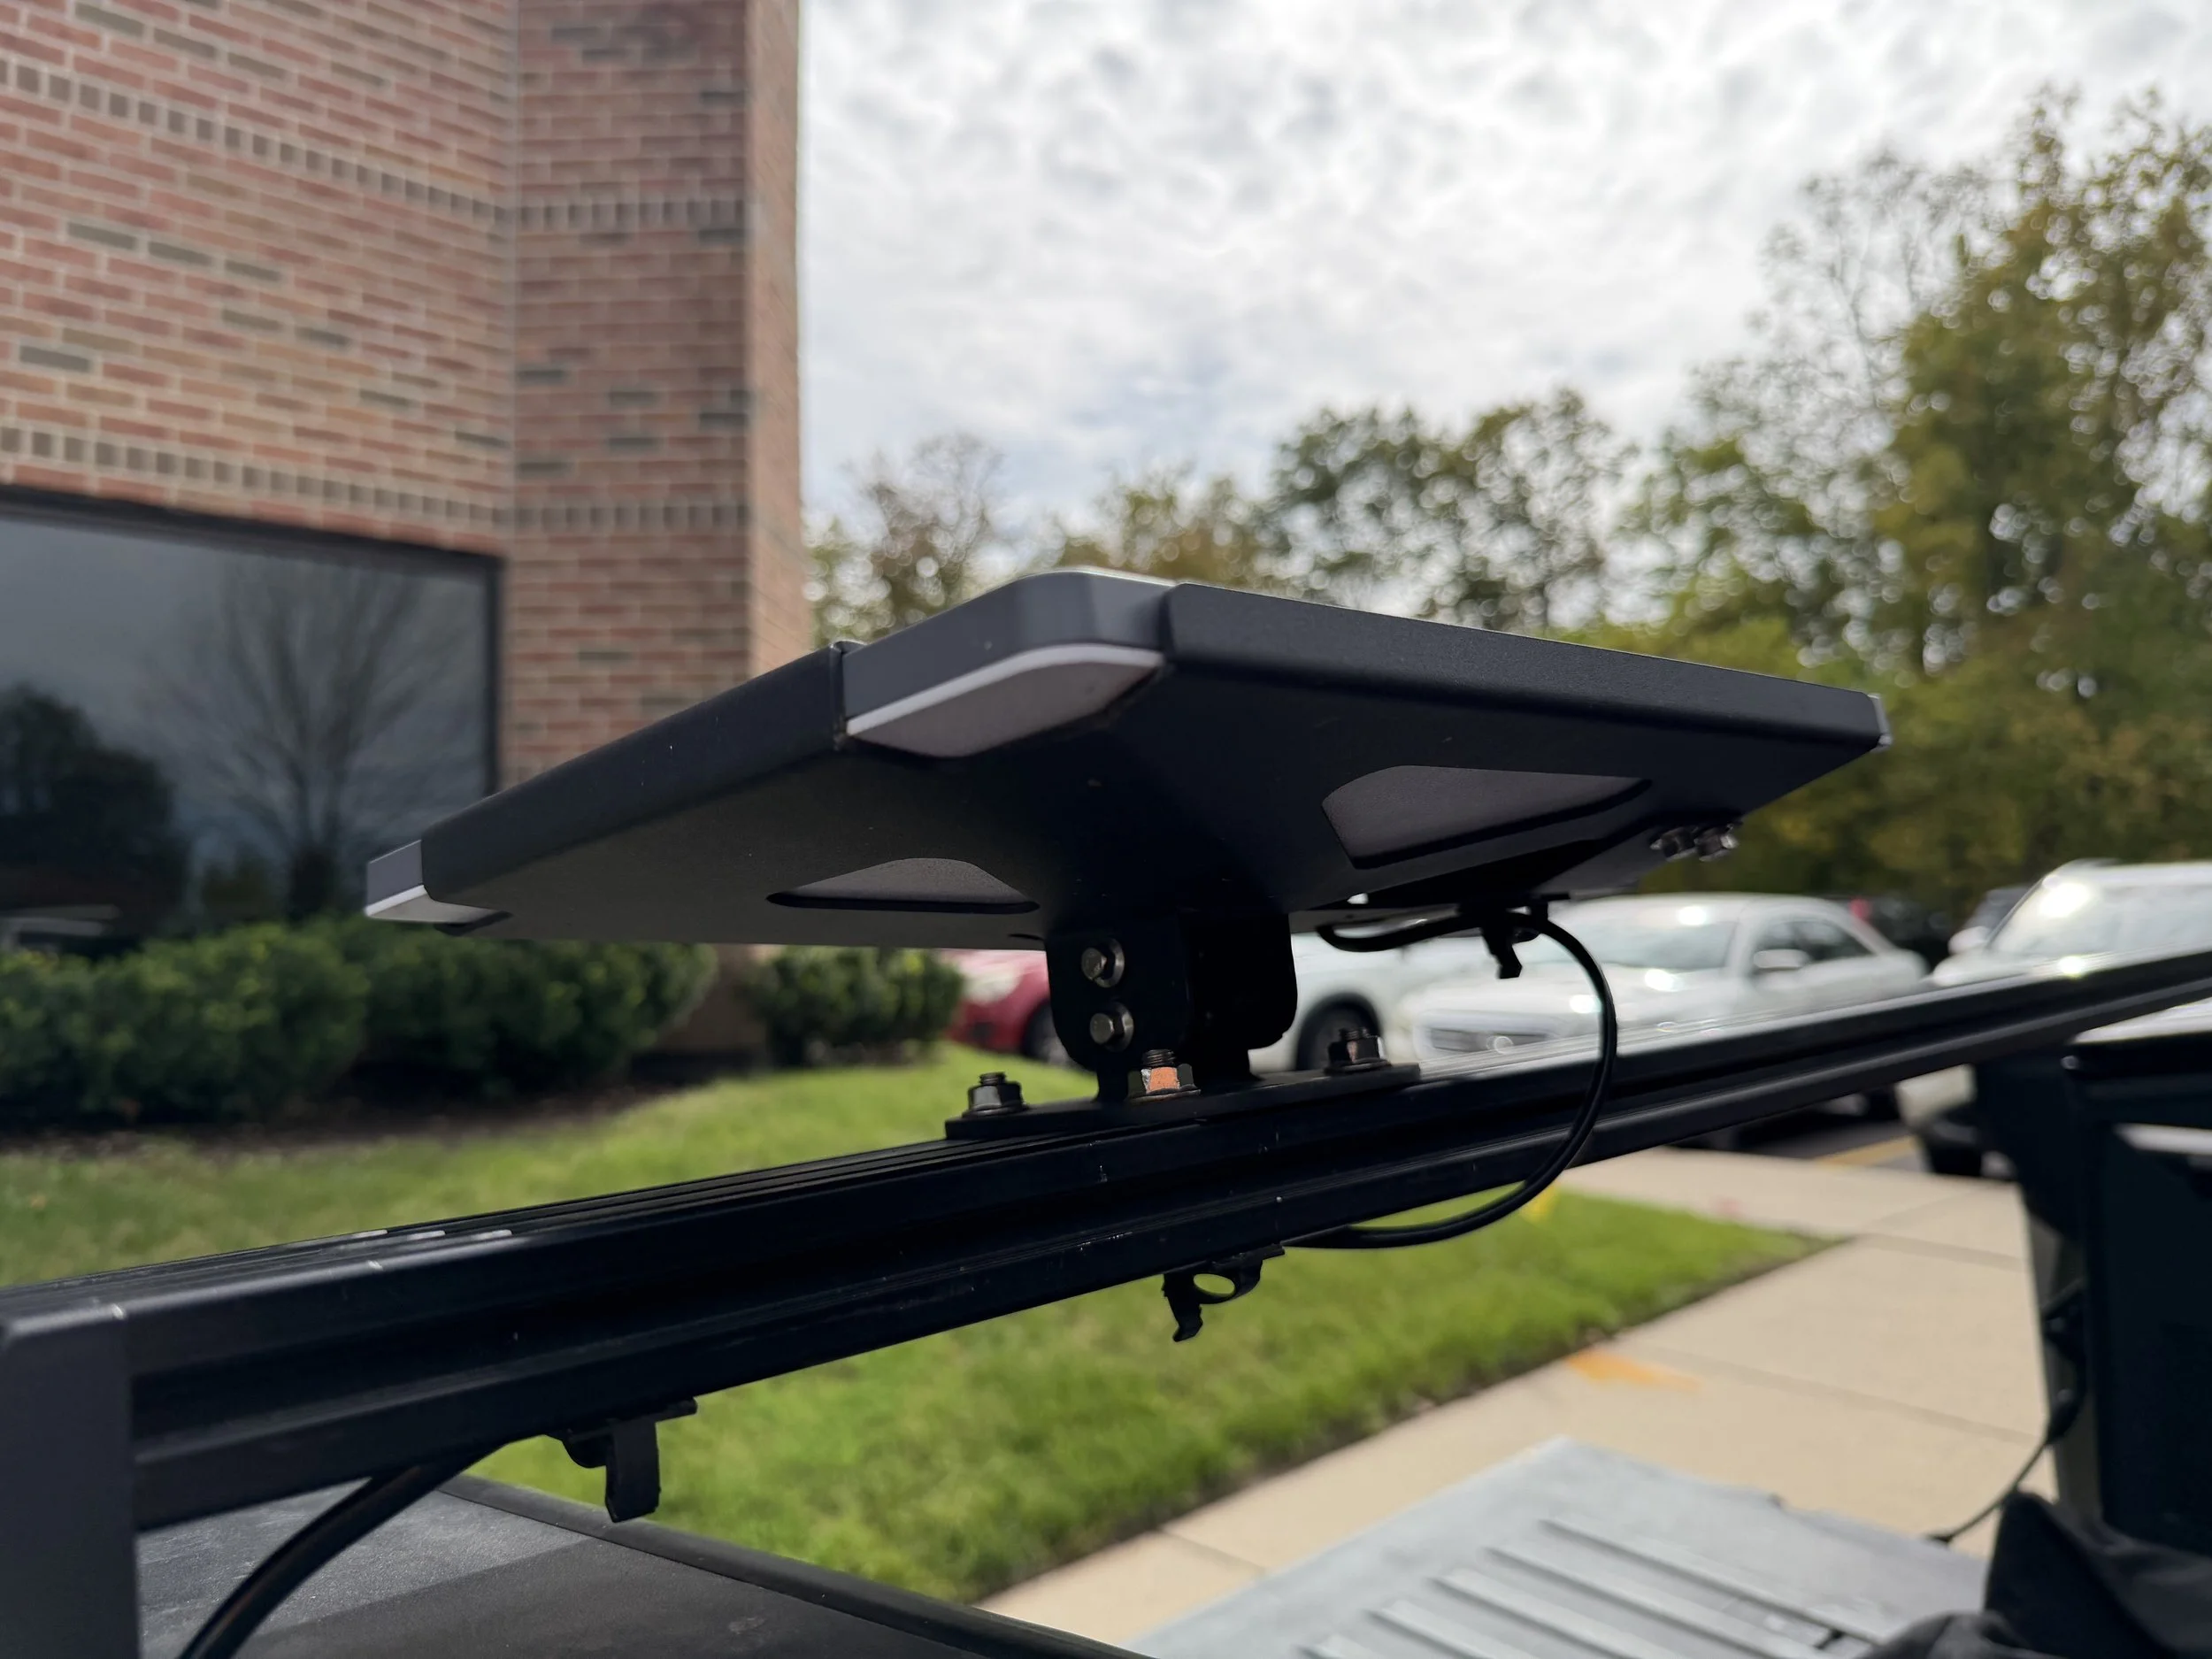
For the physical mount, I used a Mars Adventure Gear crossbar along with their Expedition Starlink Mini Mount, available here (discount available with code CYBERTRUCKGUY).
This combination creates a sturdy, purpose-built mounting point that keeps the Starlink Mini secure even on rough terrain. The low-profile design sits at the rear of the Cybertruck bed, which has virtually no effect on range or aerodynamics.
The mounting hardware is made from power coated steel, and requires a ratchet set to disassemble, meaning it's very difficult for someone to steal.
Mars Adventure Gear has created two types of mounting hardware: One that requires a crossbar, and another that mounts directly to an accessory mounting point.
Starlink Mount WITHOUT Crossbars: $199 (Plus discount with code CYBERTRUCKGUY)
Starlink Mount WITH Crossbar: $159 (Plus discount with code CYBERTRUCKGUY)
For anyone looking to NOT modify wiring: you can mount the Starlink on the driver’s side of the truck bed and just plug it into one of the bed outlets. This is a simple, reversible method that works well on the go. However, keep in mind that the bed outlets don’t stay powered while the truck is AC charging — meaning your Starlink will go offline any time the Cybertruck is plugged in to 120v or 240v power.
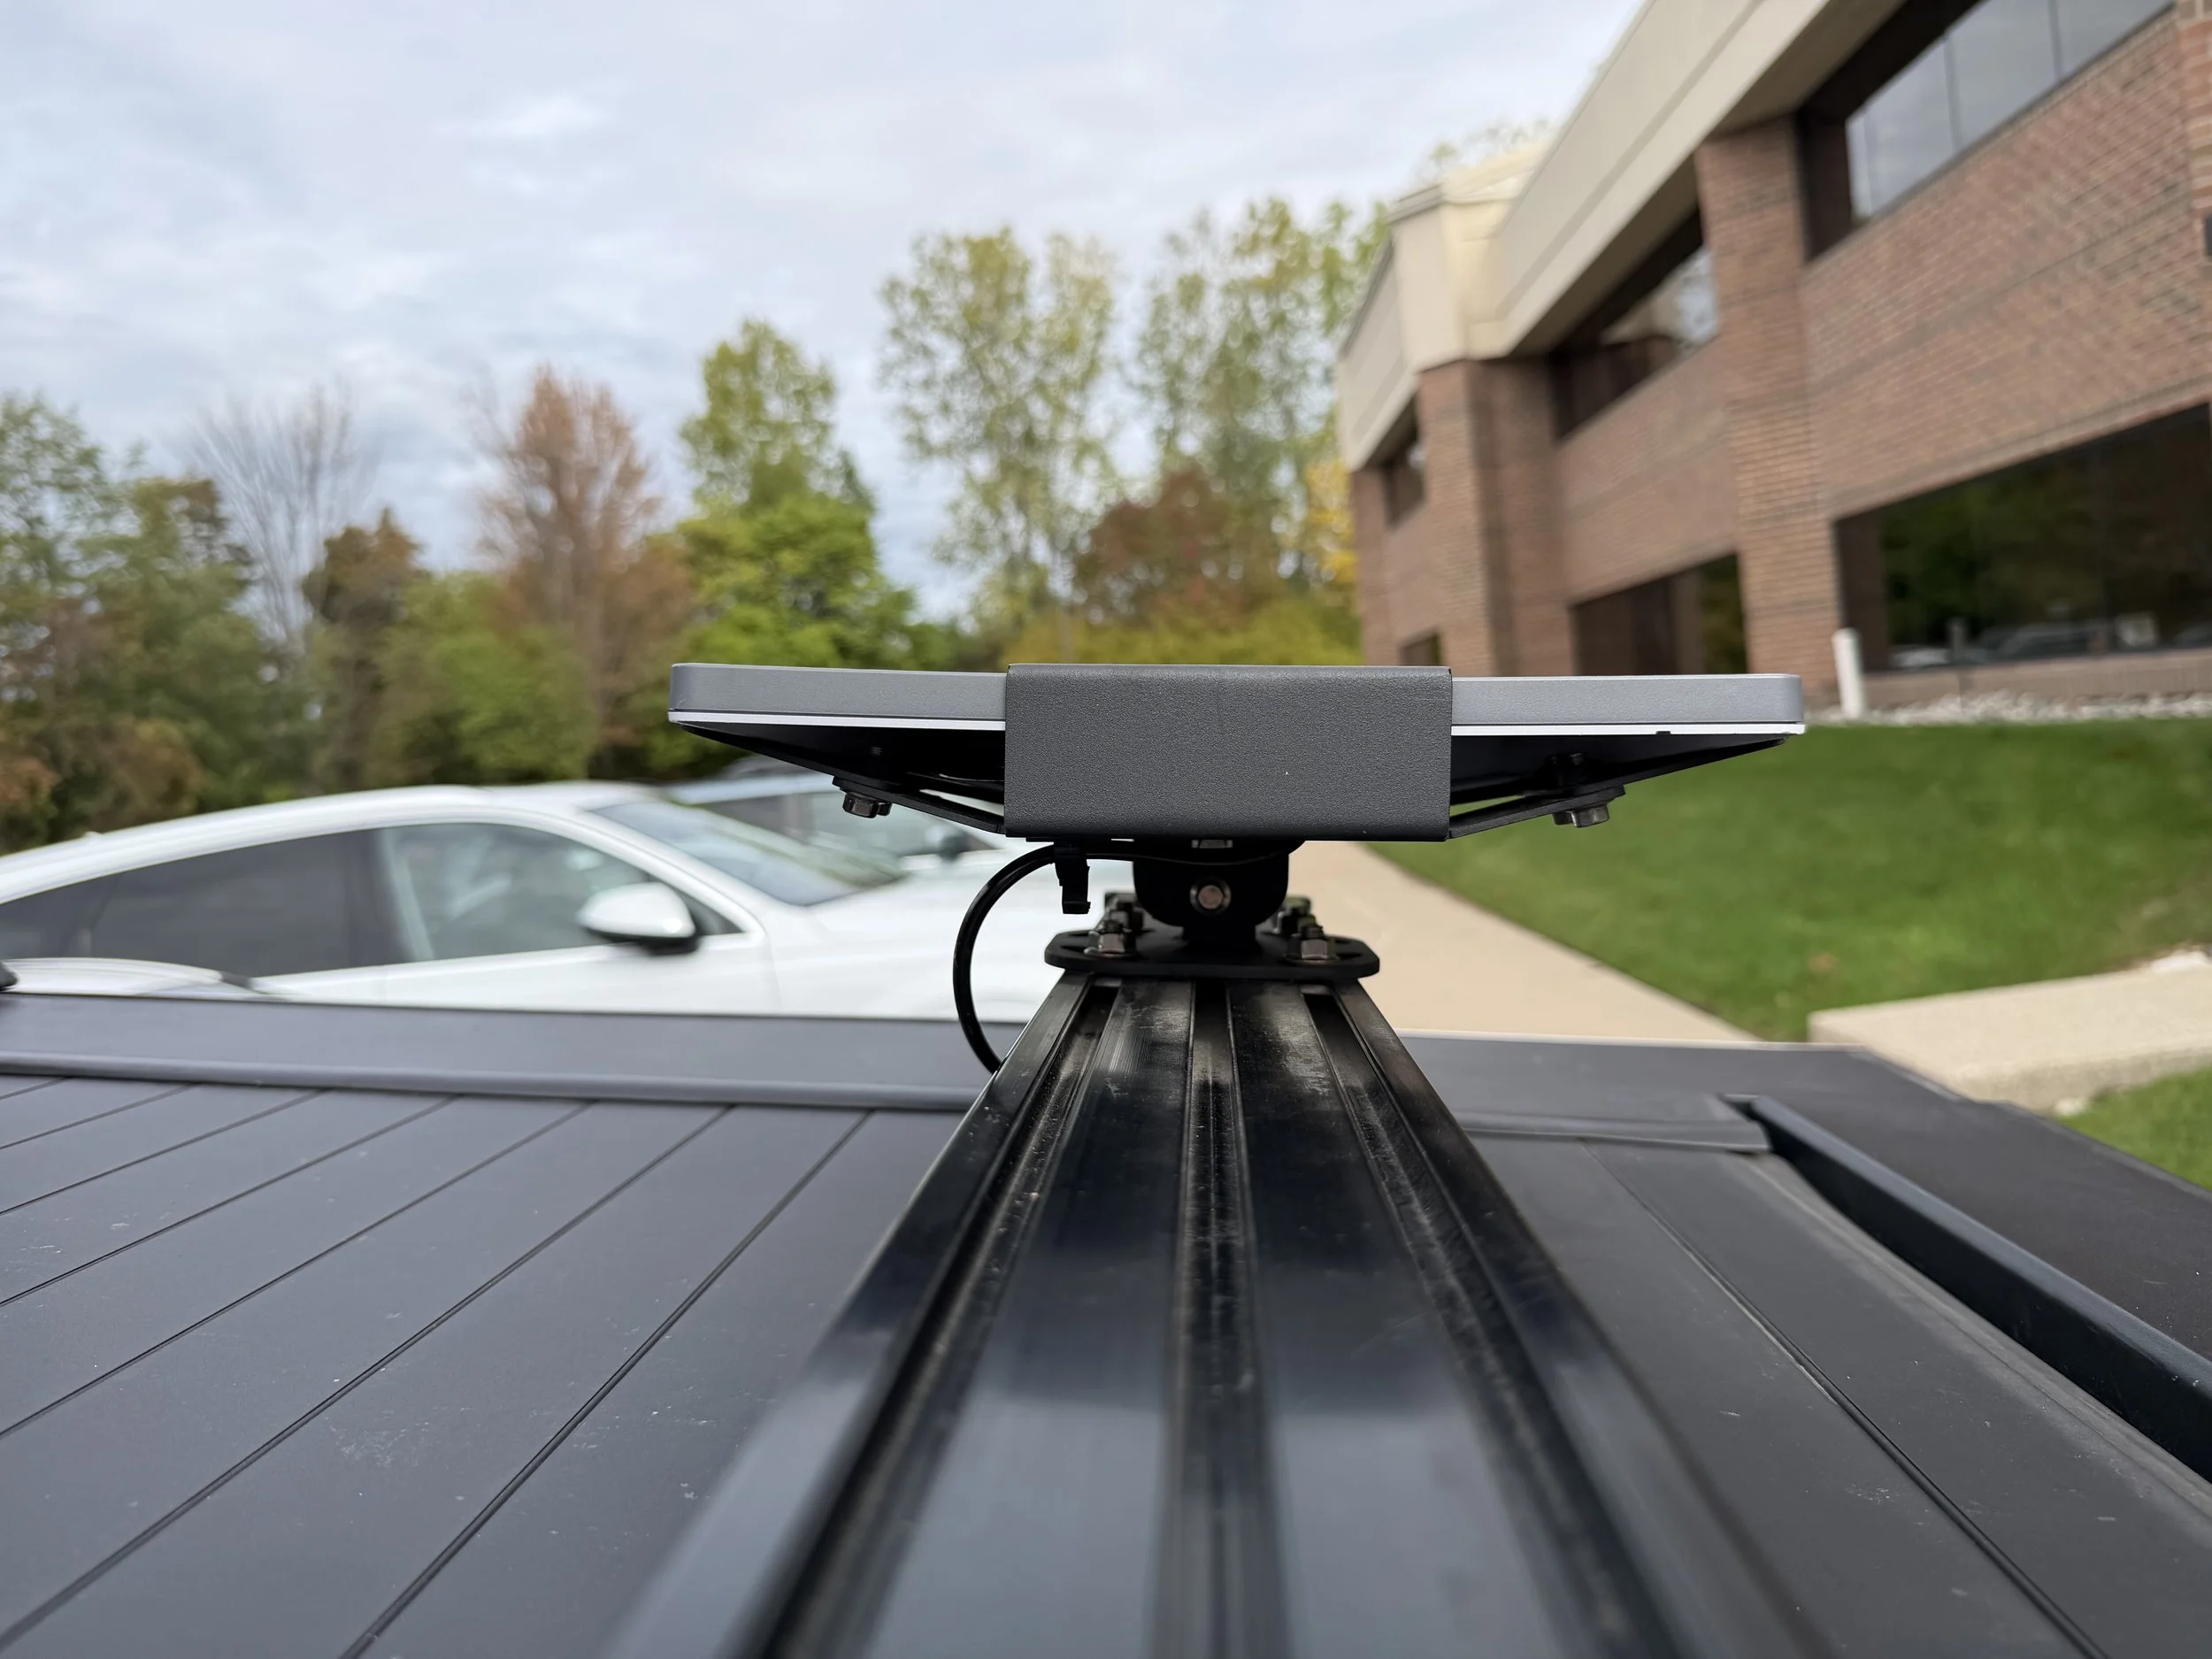
Side View of Starlink Mini Mounted on Crossbars
Clean Wiring and Cable Management
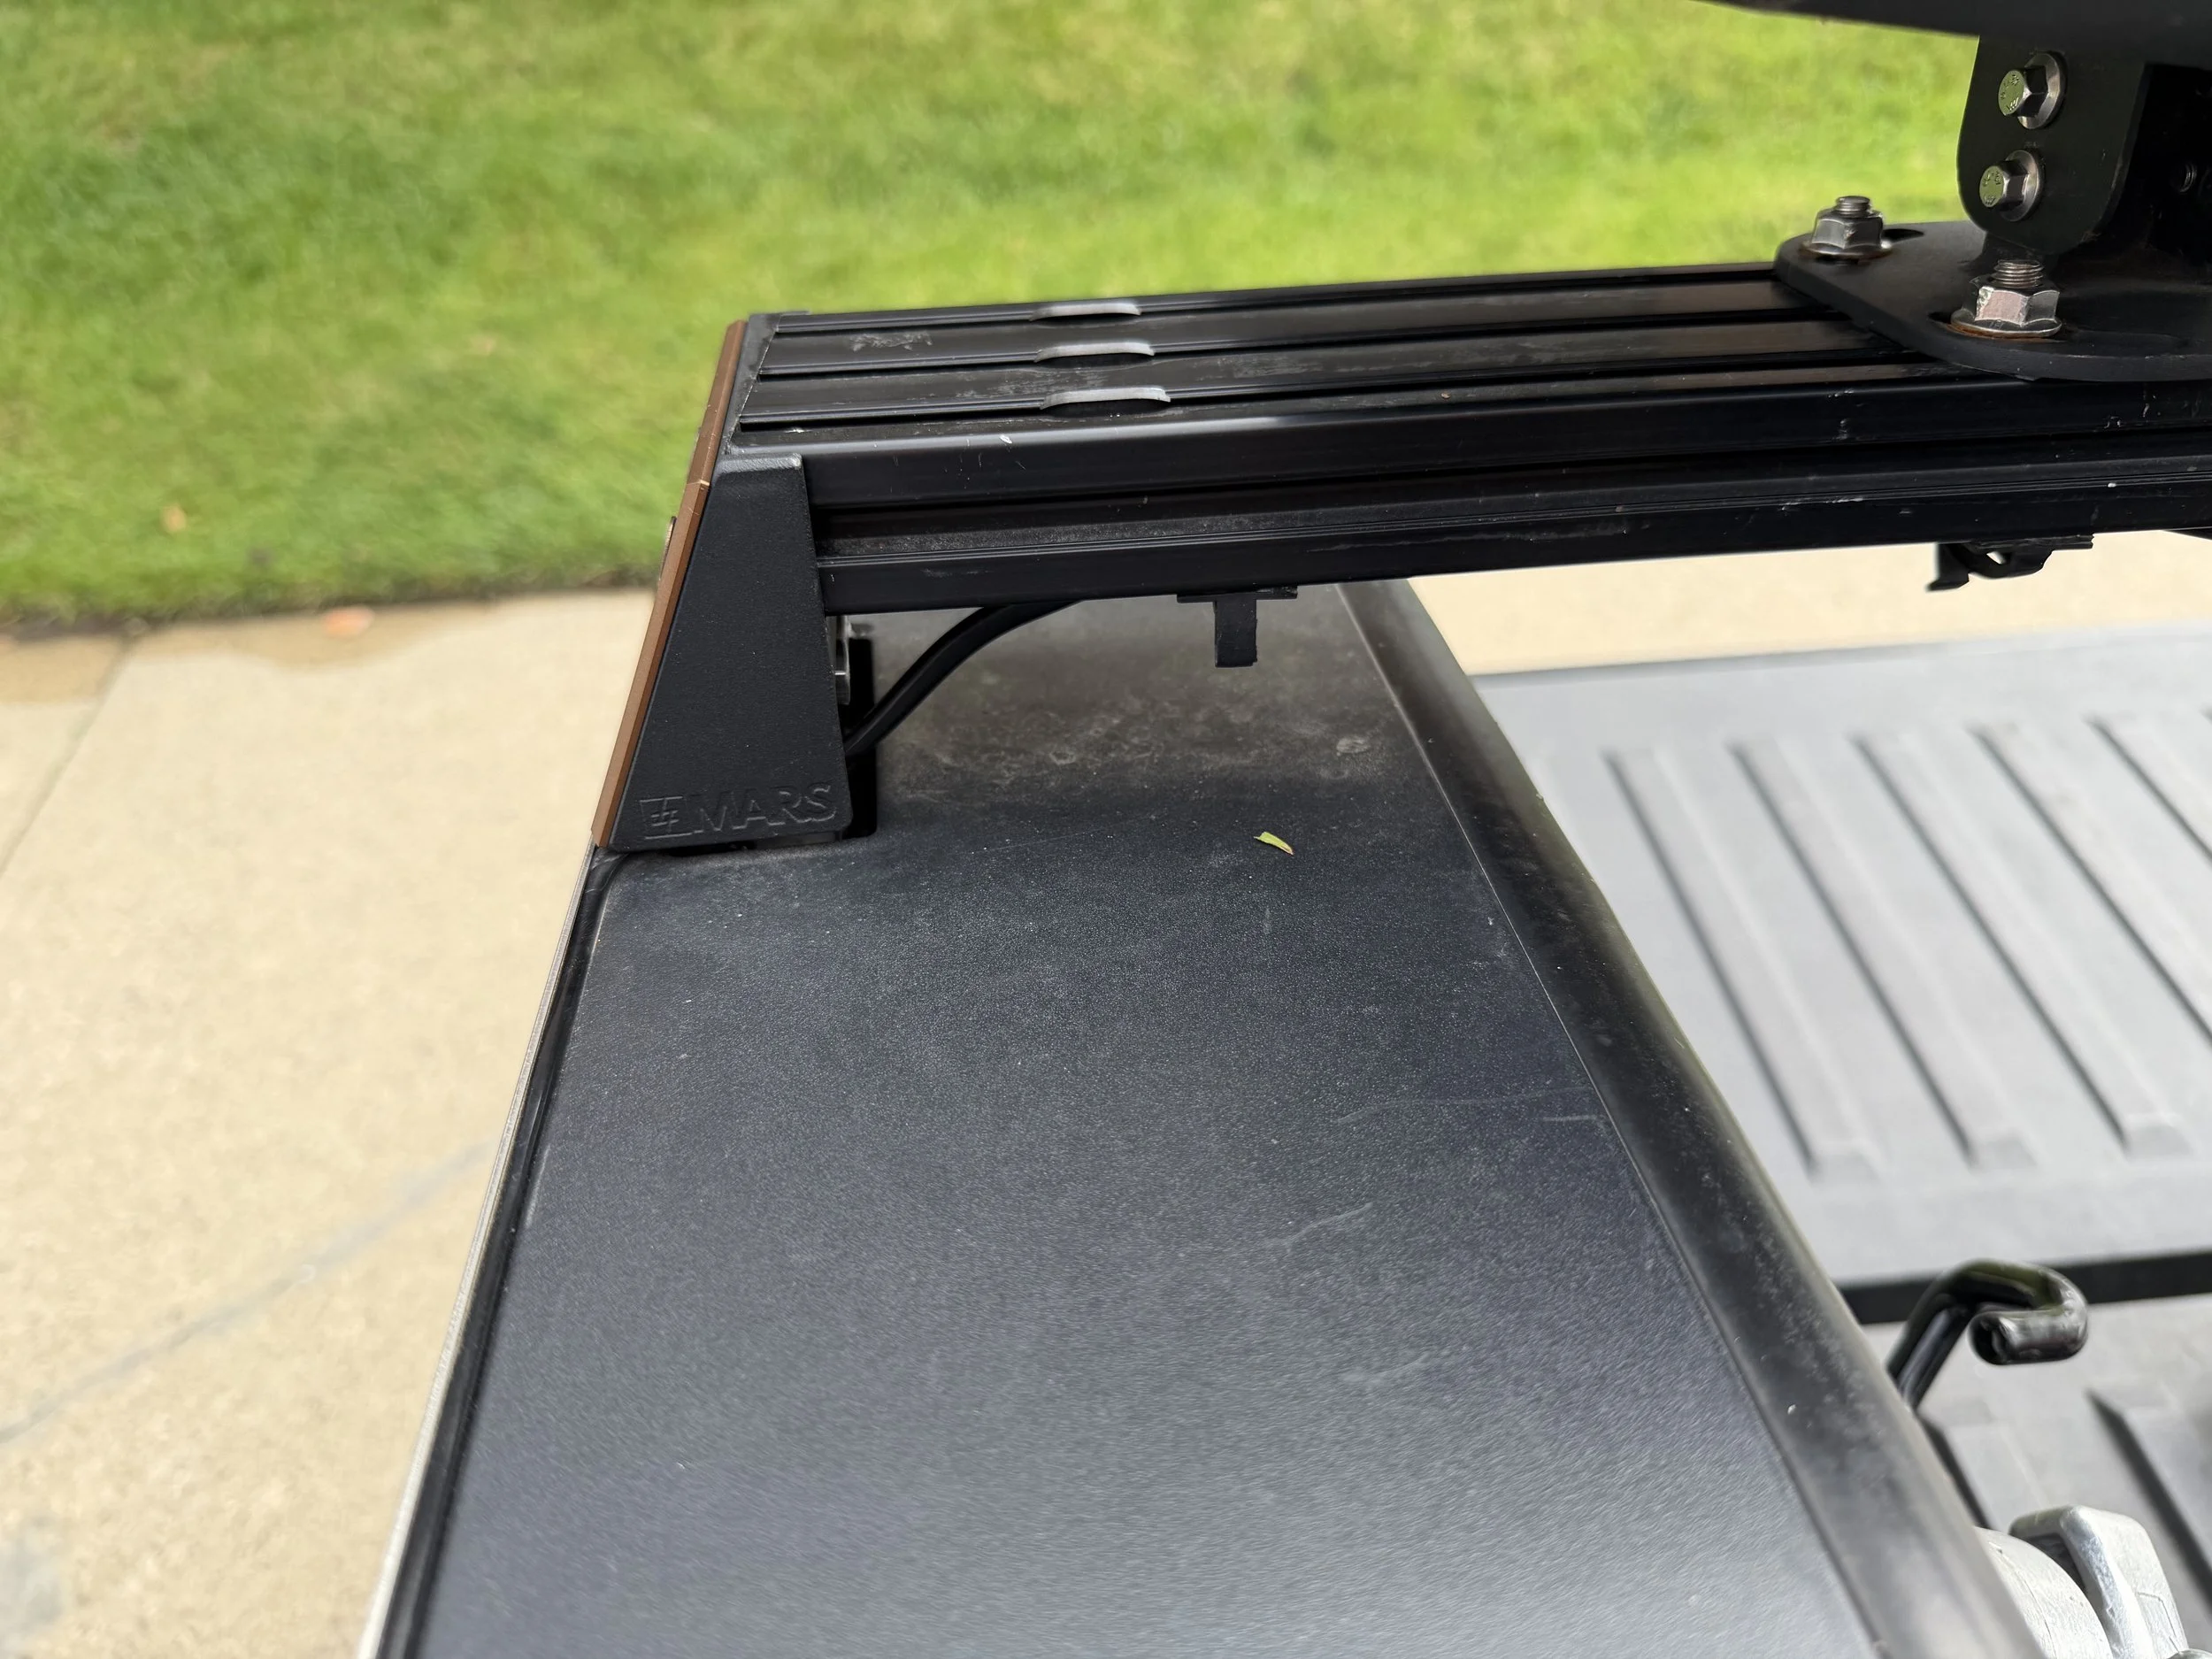
Running the wiring cleanly was as important to me as powering it correctly. I started by routing the cable underneath the Starlink mount, feeding it through to the underside of the crossbar to keep it hidden from view.
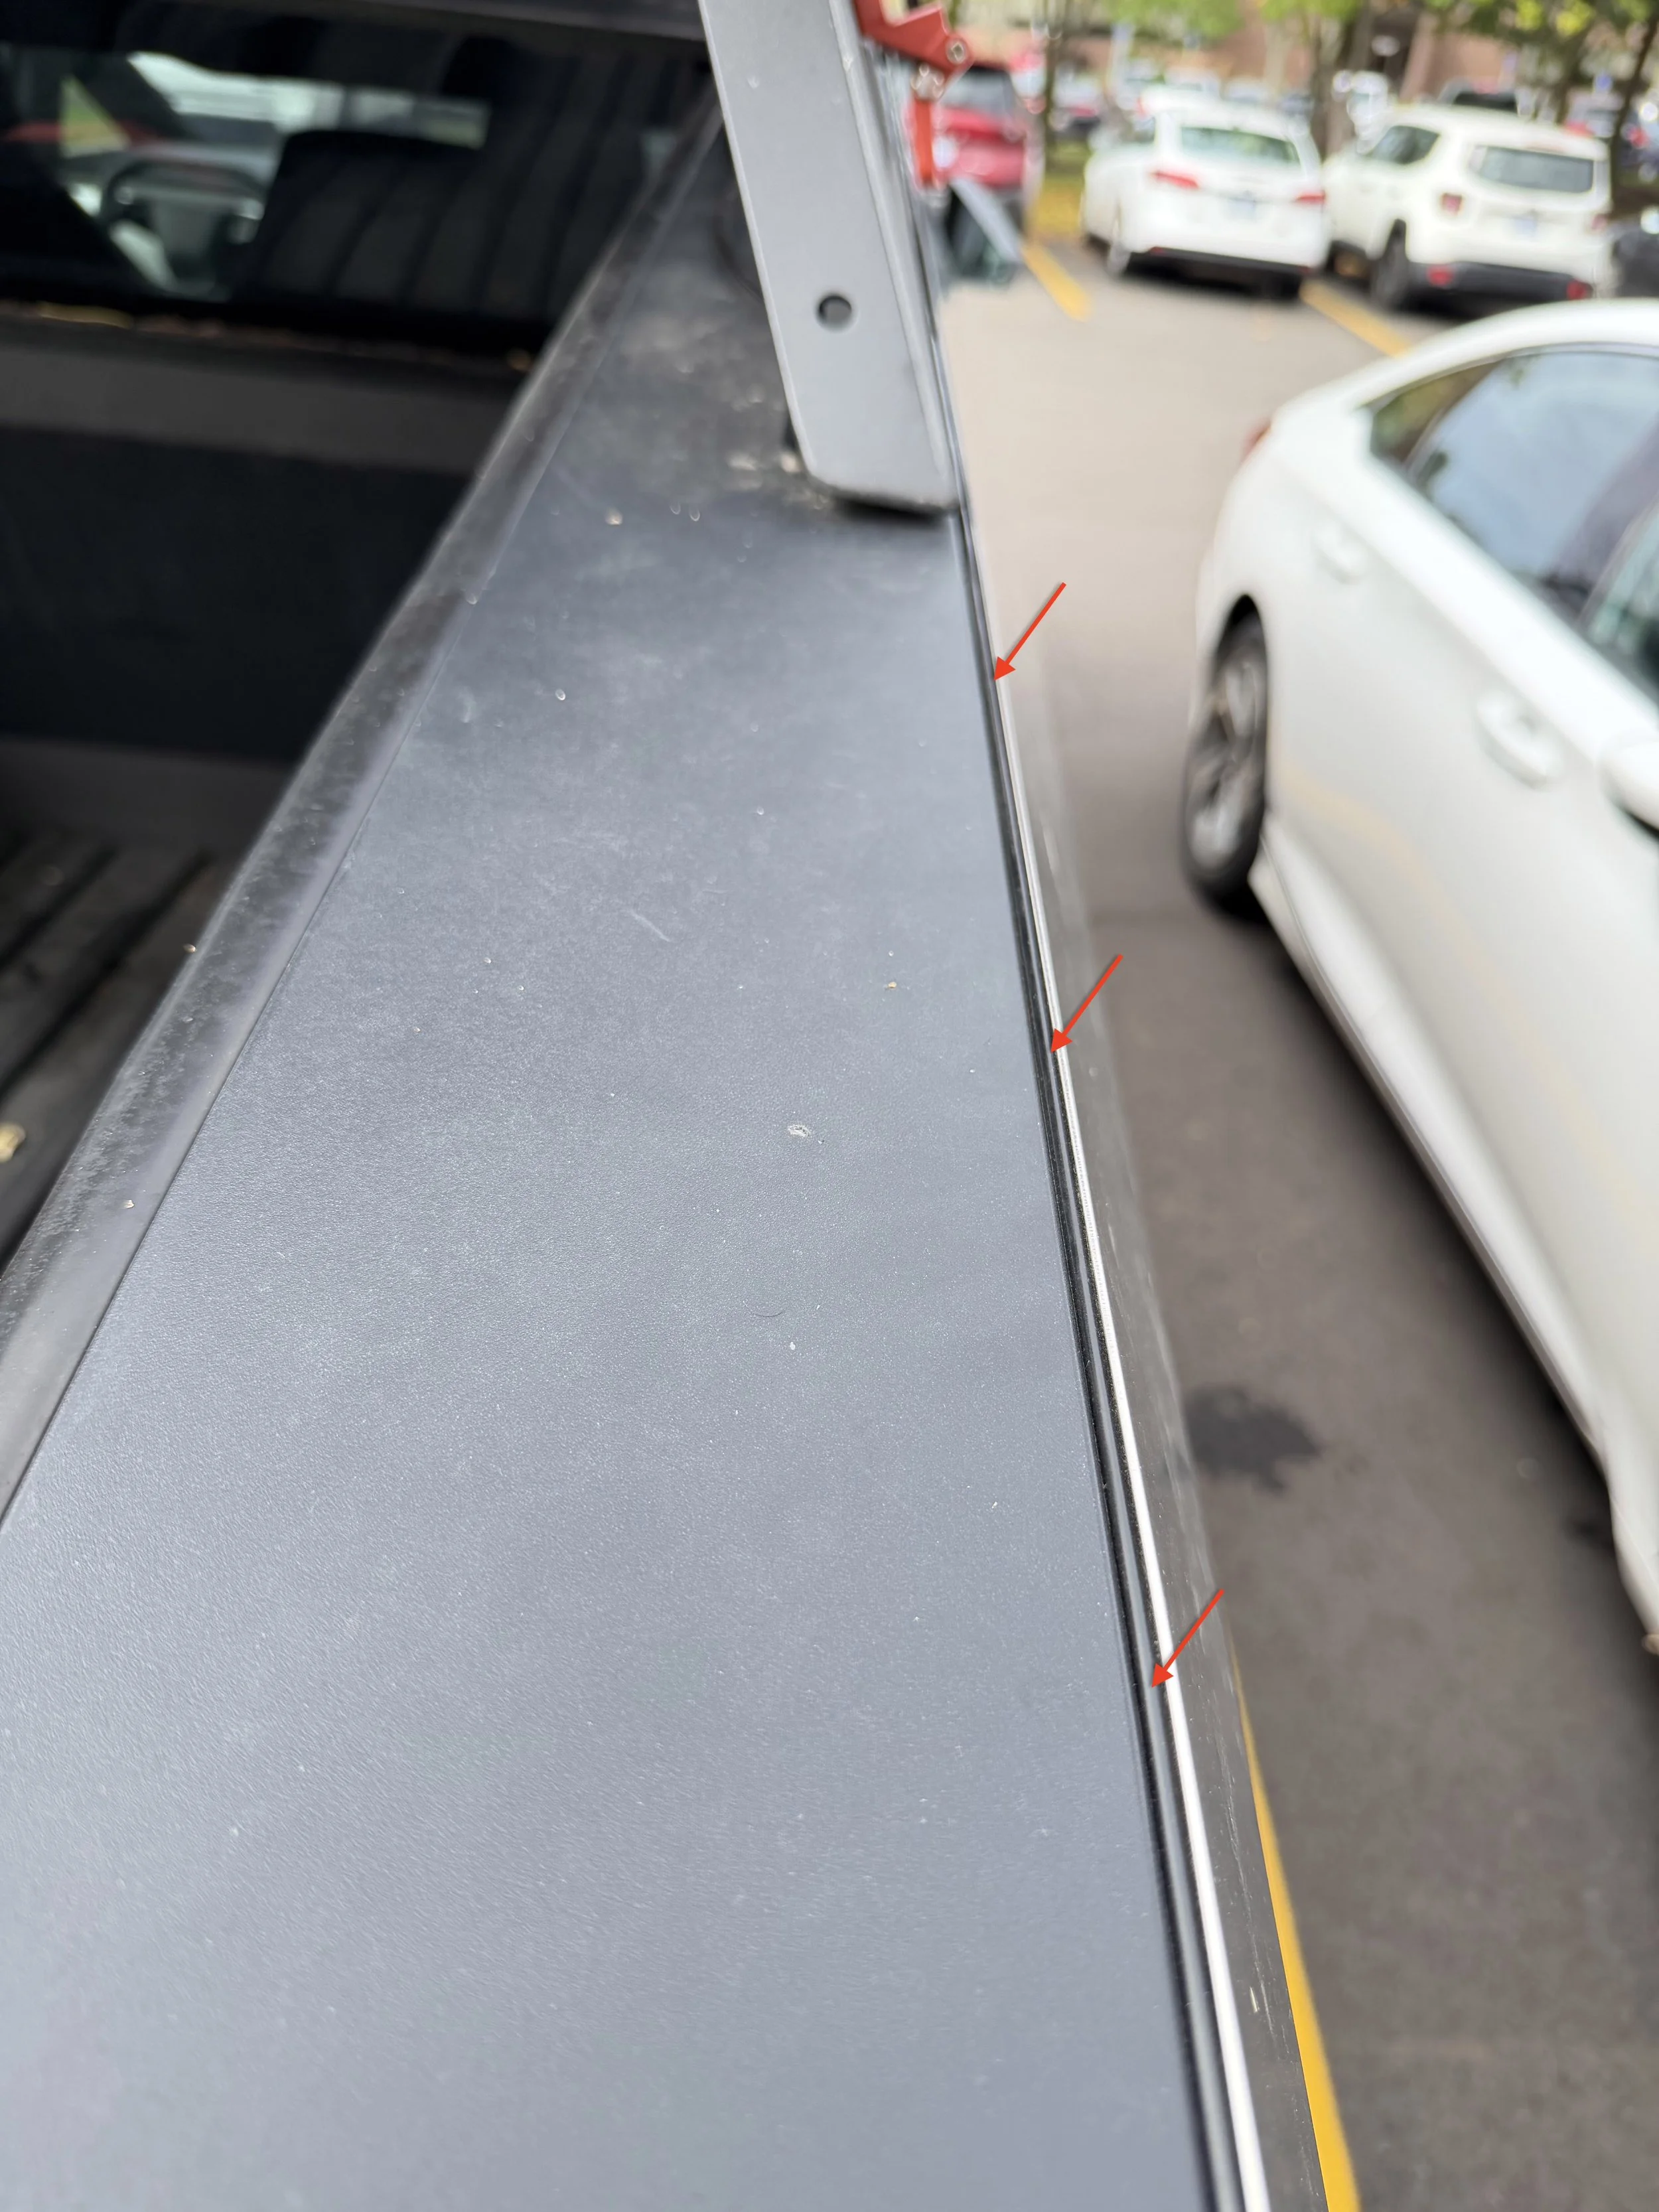
From there, I pressed the wire into a narrow cavity that runs between the Cybertruck’s bed and the outer stainless steel body panel. This path allows the wiring to remain invisible while being completely secure.
Because I already use the Cybertruck’s roof feed to power my auxiliary lights, I extended the Starlink wiring to reach the front 48V feed located in the frunk. For most setups, wiring into the roof feed may be the easiest option.
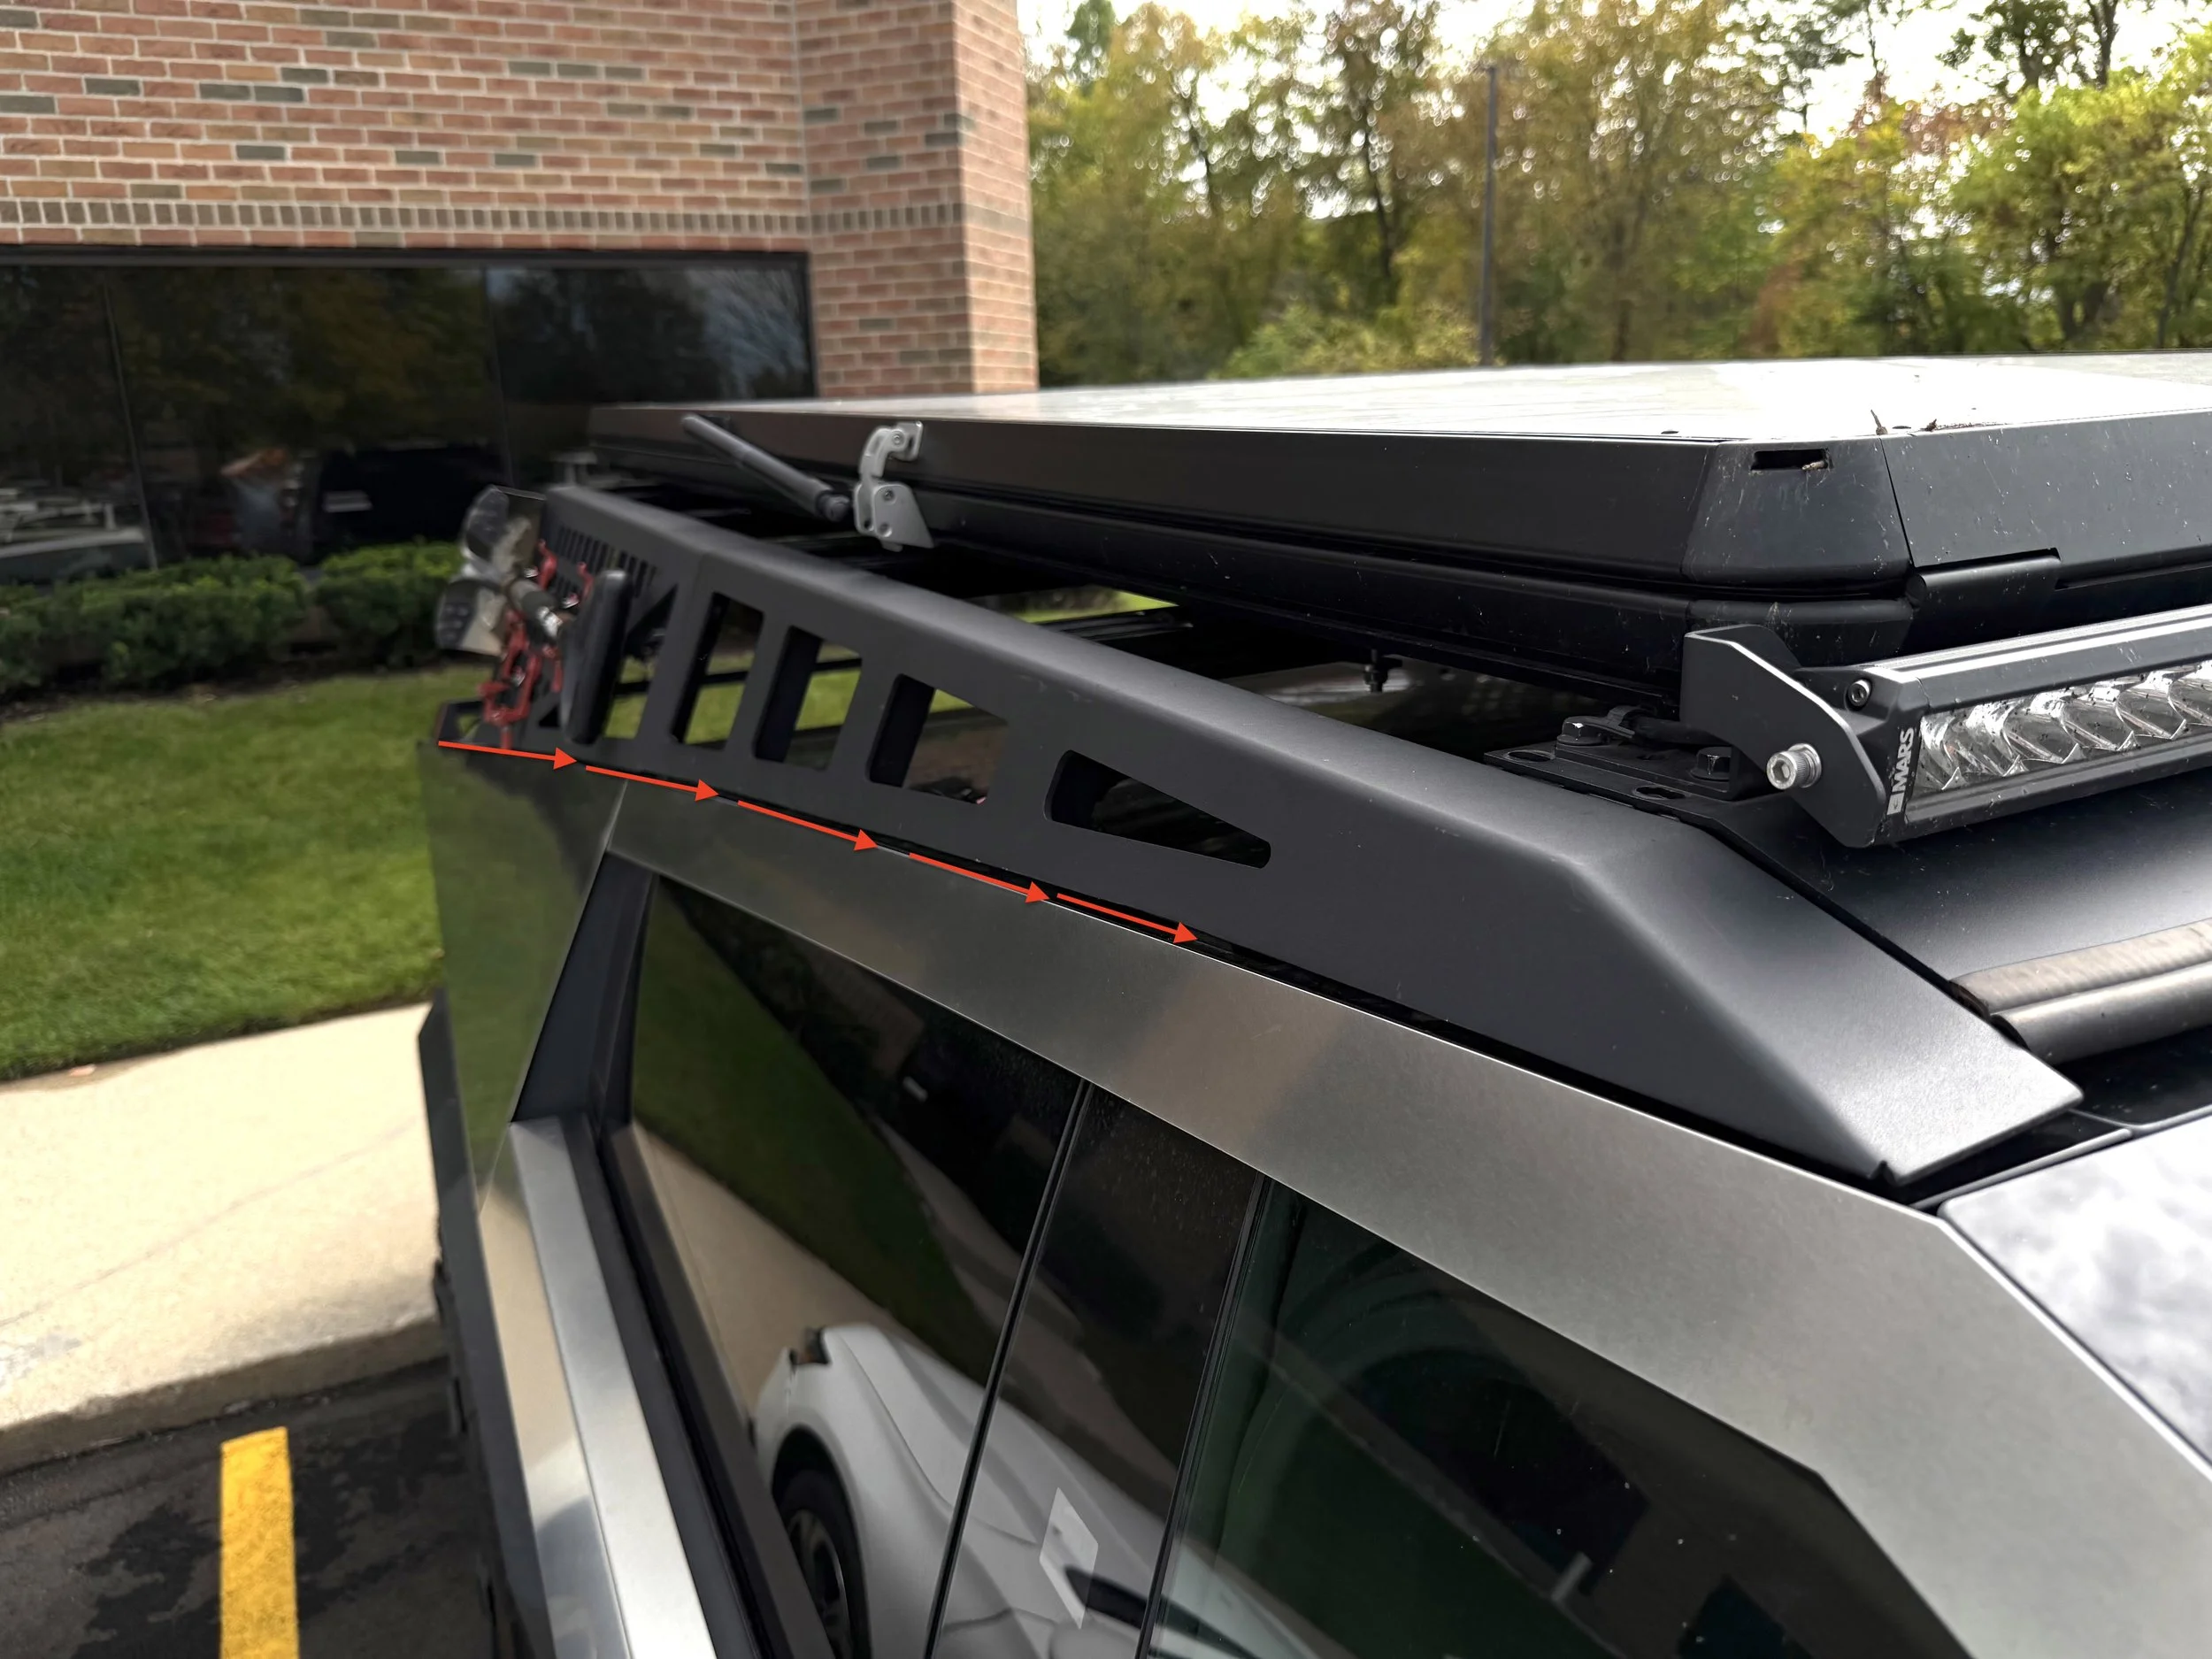
Routing the wire takes some patience — the wiring needs to run under the cantrail along the side of the windshield. There’s a hidden cavity there that can accommodate several wires, but you’ll need to guide the cable underneath the cantrail mounting bolts for a smooth fit. Once the frunk tub is removed, the 48V power feed is easily accessible for connection.
To keep the wiring neatly in place, I used these adhesive cable management ties, which stick securely to the crossbar and allow for easy adjustments later on. The end result is almost a completely hidden, factory-clean appearance with no blatantly visible wires or dangling connections anywhere on the truck.
Why This Setup Works
This configuration solves several issues at once. First, it keeps the Starlink Mini continuously powered, regardless of how the Cybertruck is charging. Second, the mounting location offers both stability and a completely clear view of the sky — ideal for maintaining a strong satellite connection. Finally, by routing all the cabling through hidden channels and cavities, the installation looks professional and stays protected from the elements.
The final, powered setup.